


Hot Bluing Techniques
Hot bluing a gun will require three vats or tanks that can be heated to boiling. These tanks need to be large enough to completely submerge the largest part of the gun, usually the barrel, being blued. For this reason the hot bluing process is usually only undertaken by gunsmiths who will be bluing multiple guns.
Prior to submersion in the hot bluing chemicals, the gun parts have to be cleaned, often using hot solvents, to remove all oils and dirt particles. Any contamination on the metal of gun will interfere with the bluing process.
The gun parts are then placed in the hot bluing tank. The longer the gun parts are left in the bluing tank, the darker the finish will be. Use caution when submerging gun barrels. Any trapped air inside the barrel can expand during the hot bluing process and can violently eject hot liquids from the tank.
After gun parts are removed from the tank, they are rinsed in cold and later hot water before a hot oil finish is applied. The gun can then be reassembled.
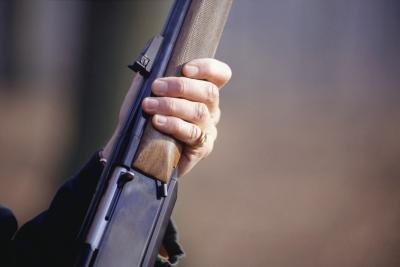 Shotgun closeup (David De Lossy/Photodisc/Getty Images)
Cold Bluing Techniques
There are several cold bluing products available for firearm hobbyists. All require the metal parts to be completely clean. Degreasers and solvents are used to accomplish this.
Once the metal is clean, the bluing agent is applied according to the product instructions. Usually the bluing materials are wiped or dabbed on the metal parts using clean, lint-free cloth. Cold bluing materials are often applied in multiple passes. This allows the new applications to overlap previous applications and can be used as a tool to provide a more even and uniform finish. Make as many applications as necessary to reach the color of finish desired.
0 comments:
Post a Comment